

The Import/Export Stores feature allows you to efficiently manage your store locations using CSV files. Instead of adding or editing stores one by one, you can import hundreds or even thousands of locations, update existing stores, create backups, or migrate your data from another system.
This guide covers everything you need to know about importing and exporting store data successfully.
Validate Your Google Geocoding API Key #
Before importing stores, make sure your Google Server API Key is configured correctly.
The Google Geocoding API converts store addresses into Latitude and Longitude coordinates. If your CSV file already contains the lat and lng columns, the plugin will use those values directly. Otherwise, it will automatically request the coordinates from Google during the import process.
Required APIs #
Your Google Cloud project should have the following APIs enabled:
- Maps JavaScript API
- Geocoding API
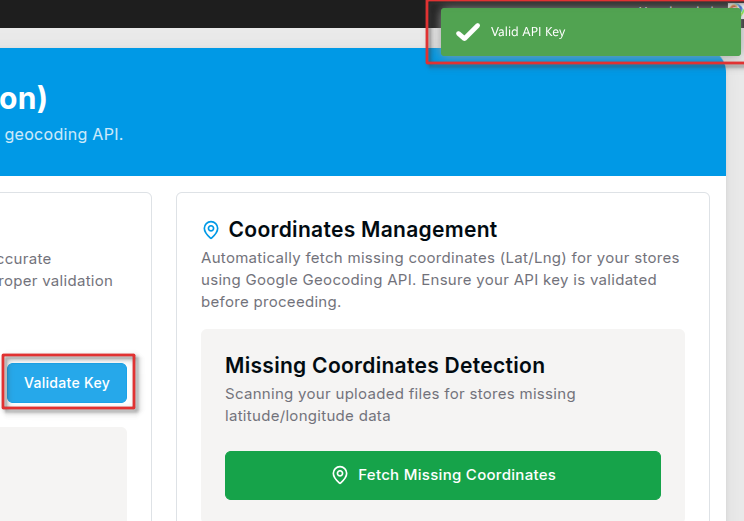
Validate Your Server API Key #
- Navigate to Store Locator → Settings.
- Enter your Google Server API Key.
- Save your settings.
- Click Validate Server Key.
If the validation succeeds, your server is ready to import stores.
Uploading and Importing a CSV File #
Importing stores is quick and simple.
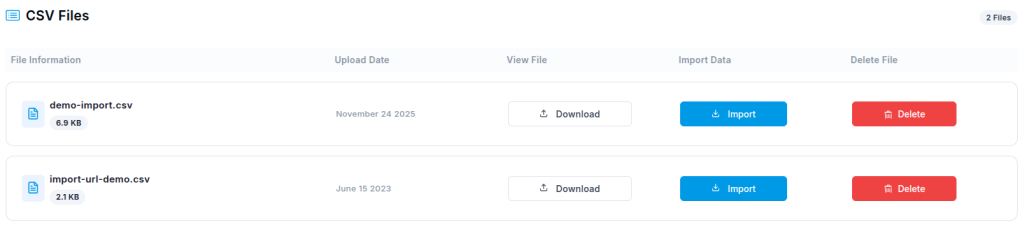
- Navigate to Store Locator → Import/Export Stores.
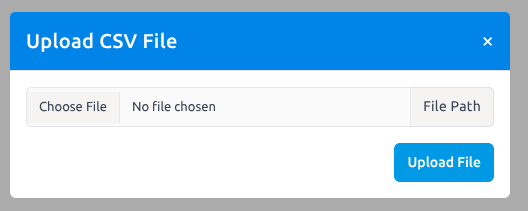
- Click Choose File.
- Select your CSV file.
- Configure the available import options.
- Click Import.
The importer supports all standard store fields, including:
- Store Title
- Street Address
- City
- State
- Country
- Postal Code
- Latitude
- Longitude
- Phone
- Website
- Categories
- Marker
- Logo
- Description
- Additional Fields
- Custom Fields
If your CSV file does not contain Latitude and Longitude, Agile Store Locator will automatically geocode each address using your Google Server API Key.
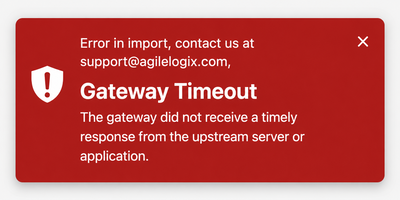
Gateway Timeout During Import #
When importing large CSV files, you may encounter a 504 Gateway Timeout, Request Timeout, or the import may stop before completion.
This usually happens because your web server reaches its maximum PHP execution time while processing the import.
Why does this happen? #
The most common reasons are:
- Your CSV contains thousands of stores.
- The CSV does not include Latitude and Longitude columns.
- Every store address must be geocoded using the Google Geocoding API.
- Your hosting provider has a low PHP execution time limit.
Since every geocoding request requires an external API call, importing thousands of addresses without coordinates can take several minutes and exceed your server’s execution limit.
How to Avoid Gateway Timeout #
To improve import performance:
- Include the lat and lng columns in your CSV whenever possible.
- Increase PHP’s max_execution_time if your hosting provider allows it.
- Split large CSV files into smaller batches, such as 1000–2000 stores per import.
- Validate your Google Server API Key before importing.
Exporting Store Data #
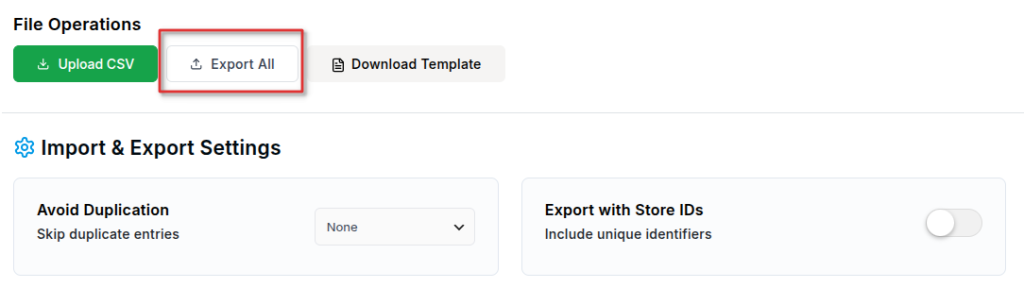
You can export all of your existing stores into a CSV file at any time.
To export your stores:
- Navigate to Store Locator → Import/Export Stores.
- Click Export CSV.
- Your browser will automatically download the CSV file.
The exported CSV contains all available store information and can be used for:
- Creating backups
- Editing store information in Excel or Google Sheets
- Migrating stores to another website
- Reimporting updated store data
Deleting All Stores #
If you need to completely reset your store database, you can remove all stores with a single action.
To delete all stores:
- Navigate to Store Locator → Import/Export Stores.
- Click Delete All Stores.
- Confirm the deletion.
Reimporting and Updating Existing Stores #
You can easily update your existing stores by exporting the current CSV, making your changes, and importing the updated file again.
Depending on your import settings, Agile Store Locator can:
- Insert new stores.
- Skip duplicate stores.
- Update existing stores.
This makes it easy to keep your store database synchronized without manually editing each location.
After Reimporting Your CSV #
Once your CSV has been imported successfully, the newly imported or updated store information should immediately appear on your store locator.
If you still notice the old store information on the frontend, it is usually because JSON Cache is enabled.
To refresh the latest data:
- Navigate to Store Locator → ASL Settings.
- Locate the JSON Cache option.
- Click Refresh JSON Cache or temporarily disable the JSON Cache.
- Reload your store locator page.
After refreshing or disabling the JSON Cache, your updated store information should appear immediately.
Preventing Duplicate Stores During Import #
Agile Store Locator provides two methods for preventing duplicate stores during CSV imports.
Option 1 – Use Duplicate Validation #
The importer includes an Avoid Duplication option that checks whether a store already exists before inserting a new record.
You can choose one of the following fields for duplicate validation:
- Title
- Phone
- Coordinates
Select the field that is guaranteed to be unique across your store database.
If a matching value is found, the importer skips creating a duplicate store.
This method is recommended when you have a consistent, unique value across all stores.
Option 2 – Update Stores Using Your Own Unique ID (Available in v5.2.4+) #
Starting with Agile Store Locator v5.2.4, you can synchronize stores using your own custom unique ID instead of comparing titles, emails, phone numbers, or coordinates.
This is the recommended solution for businesses that manage their stores using an ERP, CRM, POS system, or another external database.
Add the following code to your child theme’s functions.php file:
if (!defined('ASL_INSERT_ON_UPDATE')) {
    define('ASL_INSERT_ON_UPDATE', true);
}

add_filter('asl_csv_update_field', function ($field, $update_key) {
    return ($update_key === 'id') ? 'id' : $field;
}, 10, 2);

add_filter('asl_csv_insert_store_id', function ($store_id, $row) {
    return !empty($row['id']) && is_numeric($row['id']) ? absint($row['id']) : null;
}, 10, 2);
After adding the snippet:
- Add an id column to your CSV file.
- Ensure every ID is unique.
- Import the CSV normally.
The importer will automatically:
- Create a new store if the ID does not exist.
- Update the existing store if the ID already exists.
- Prevent duplicate records during future imports.
This method provides the most reliable way to synchronize large store databases and is recommended for users who regularly import updated store information from another system.


